1980 - 82 Dragvette 6-Link Installation Manual
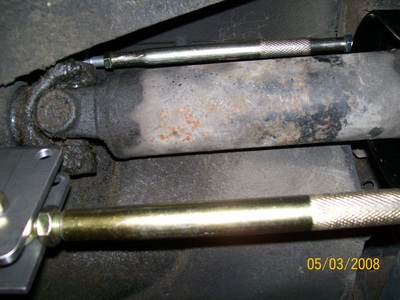
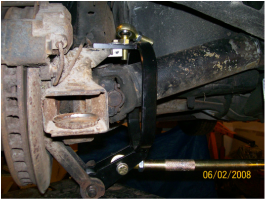
The first step to installing the 80-82 6-Link is to remove all the items that will interfere with the installation of the kit. That would be the spare tire kit. And the rear spring although removing the rear spring may no be needed we feel it makes the installation simpler with out having to work around the spring. Remove the half shafts from the side yokes on the differential then slip the outer loop over the half shaft and clamp (if stock trailing arms) or drill two 5/16” holes in the offset trailing arms to mount the outer loops. Be sure to center the loop over the half shaft before drilling.
Secondly adjust the upper arms to 13 5/8 “ long on each side before installing the upper bracket (1/8” longer then your half shafts).
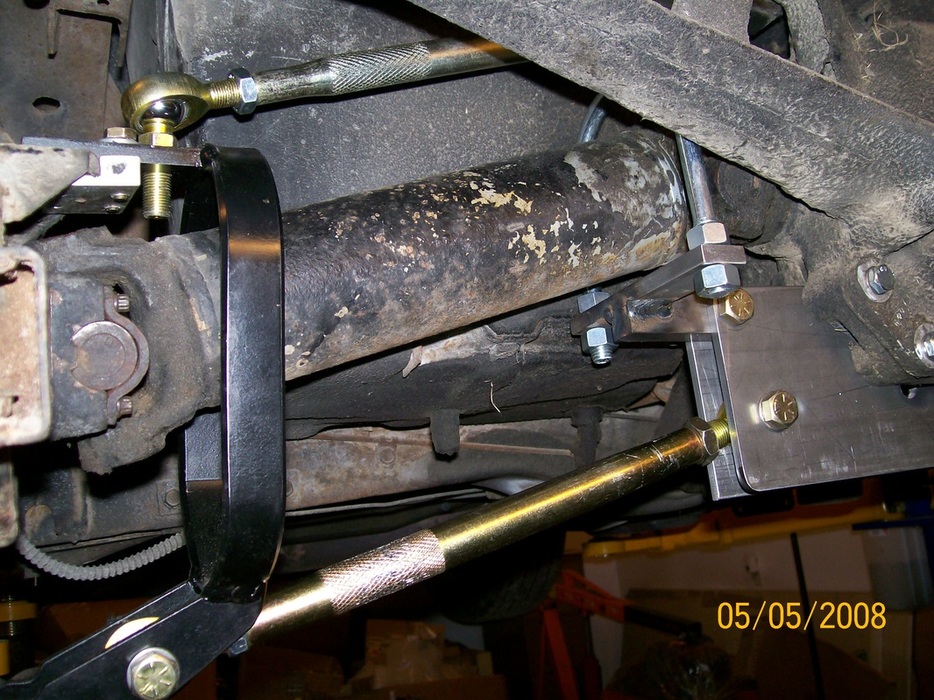
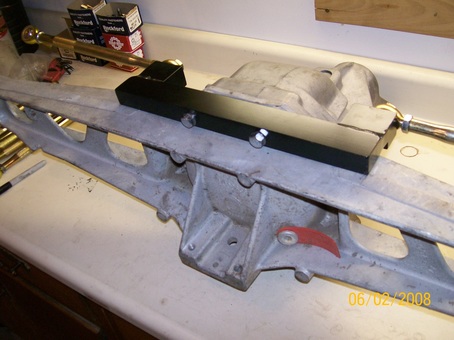
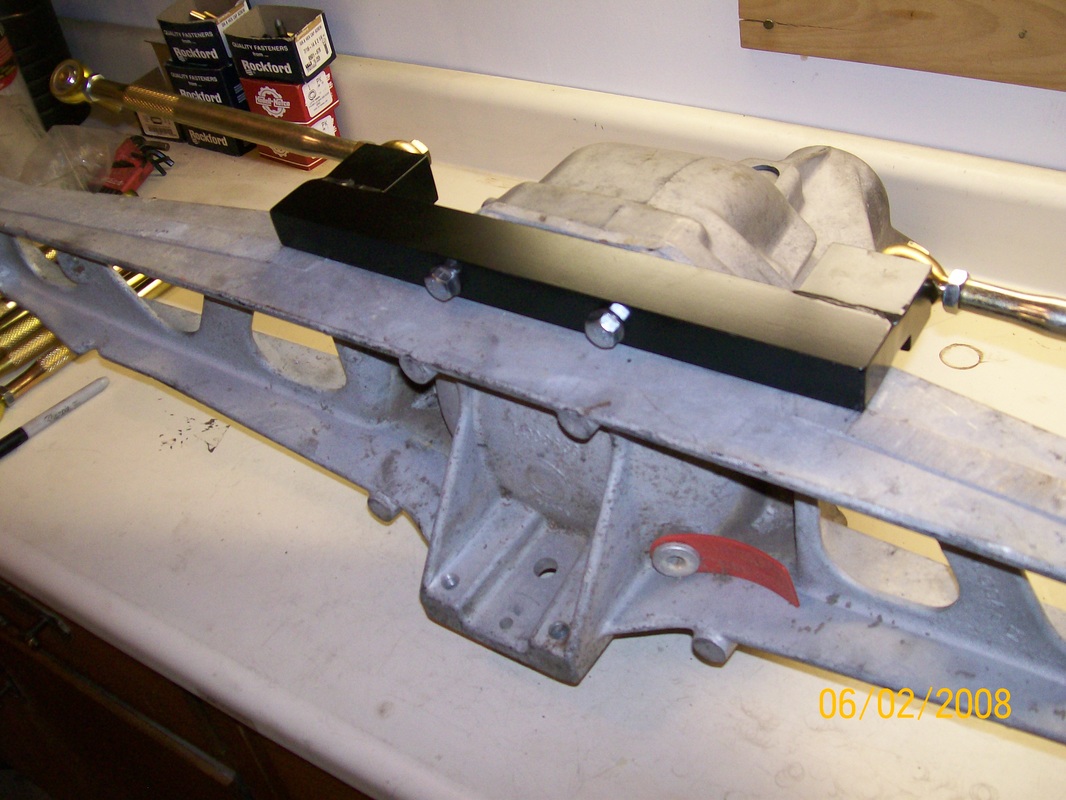
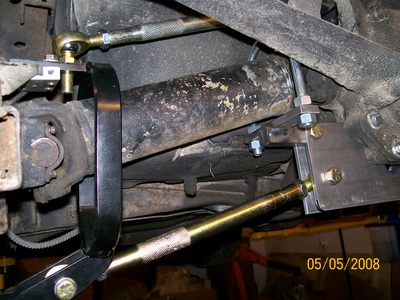
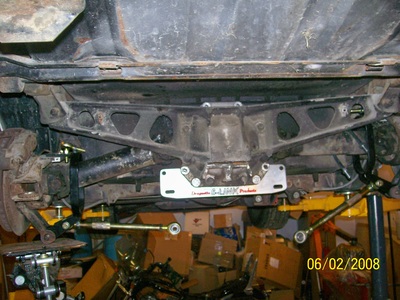
80-82 Upper bracket installed, with struts attached and adjusted at 13 5/8 long center to center. Screw the studded hiem joint into the out loop it is usually easier to do this by lowering the swing arm 6-8 inches to give you more room to push things around and wrenching room.
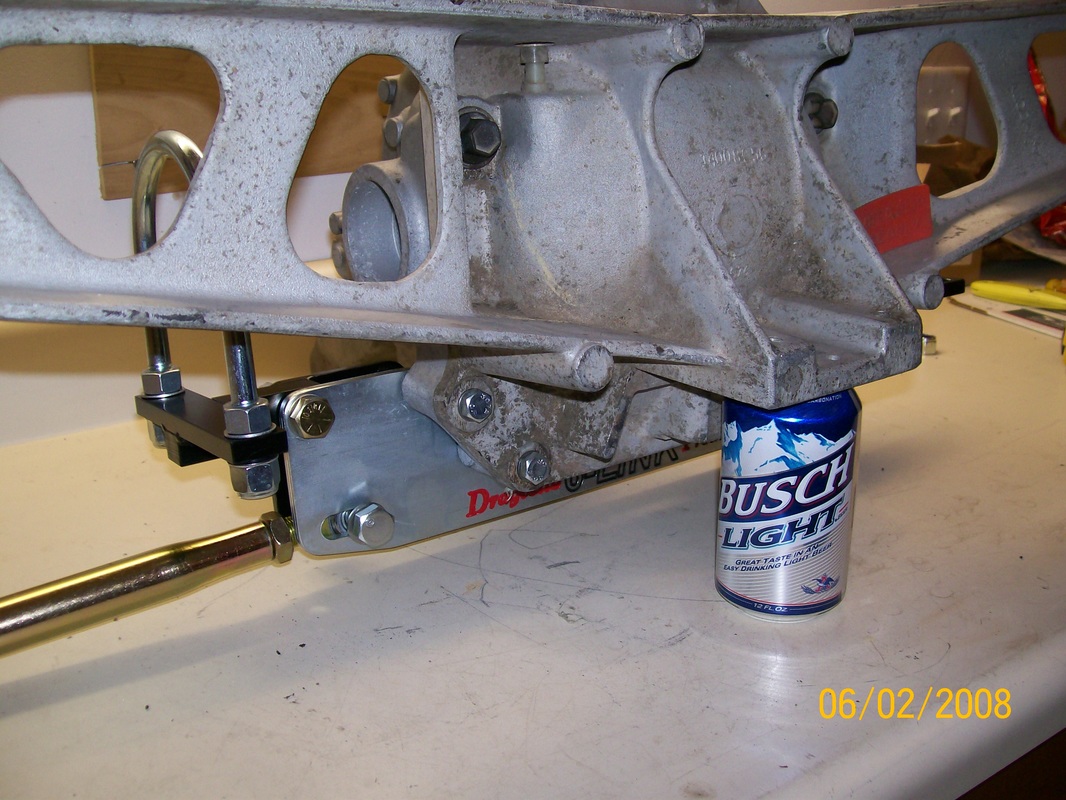
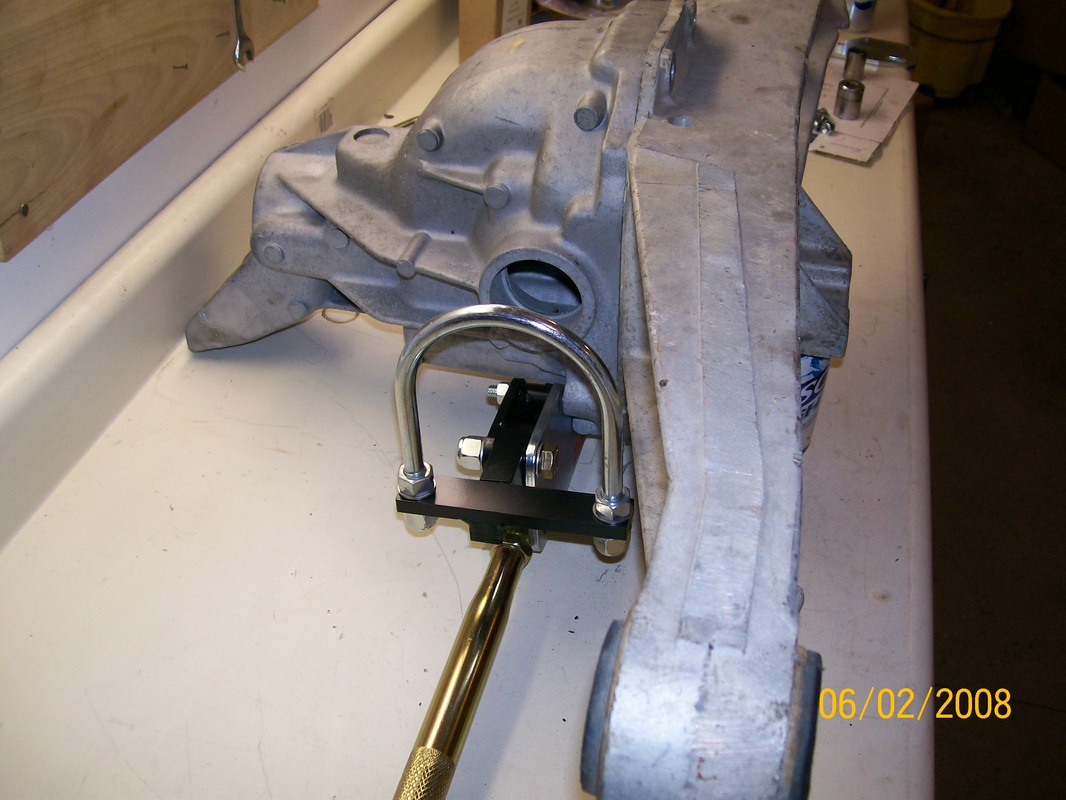
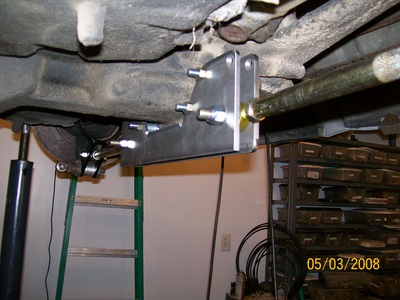
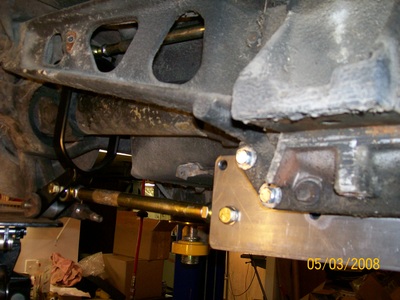
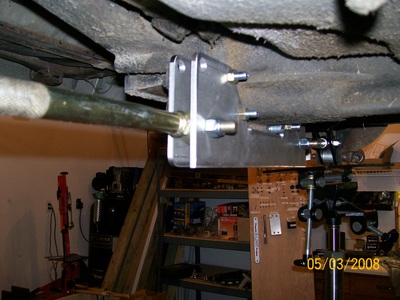
To install the bottom strut bracket, slip four 3/8 by 3 3/4" screws thru the rear cover and differential housing. Next slip the Zinc plated lower strut bar support bracket on followed by the black painted lower strut bar support plate. Next install the ½” by 2”long hex bolts into the upper left and right corners. Spin some 3/8 nuts on the longer screws to loosely support the rear lower strut bracket. Adjust the lower strut bars to 13 1/2” from center to center and install them into the outer loop brackets and the lower support bracket. Insure the nuts on the hiem joints on the center bracket as shown in the above picture do not interfere while being rotated around the plate. You may have more thread showing on the center hiems in order to accomplice the clearance. You will not change the length of the bottom strut are it is adjusted to the same length as the half shaft and must remain at that length. Now finish off your beer and get ready to align the camber on your trailing arms.
This is a picture of the strut bracket installed.
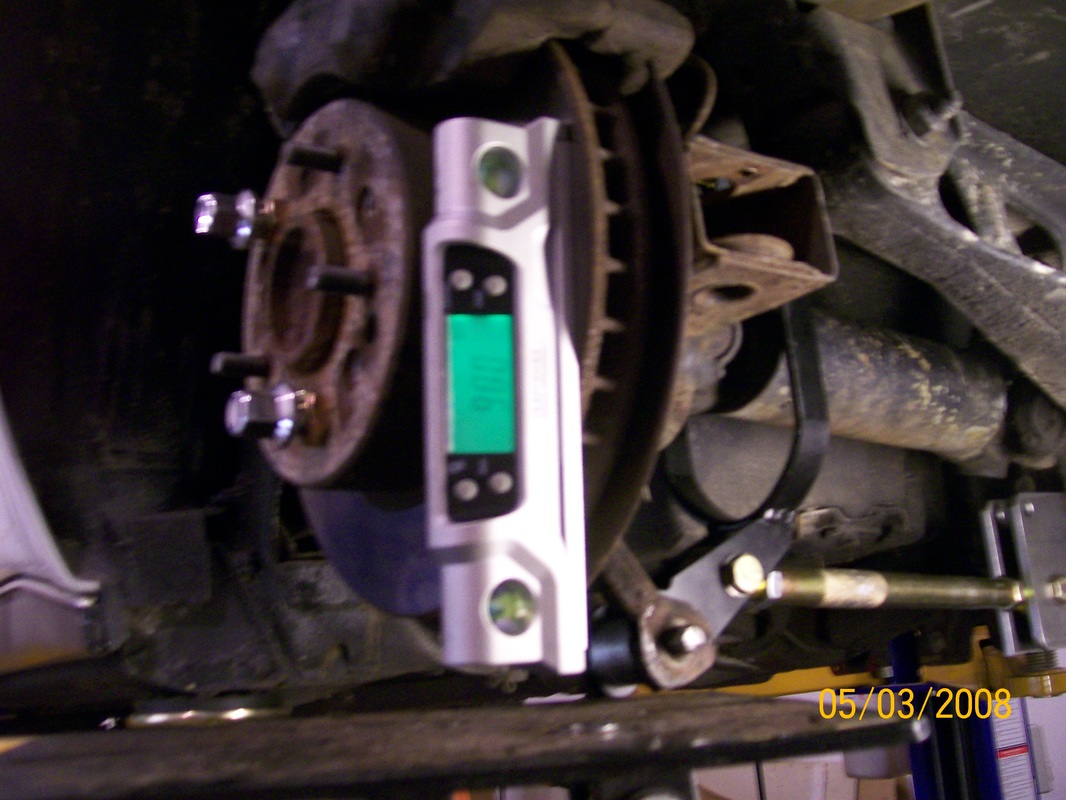
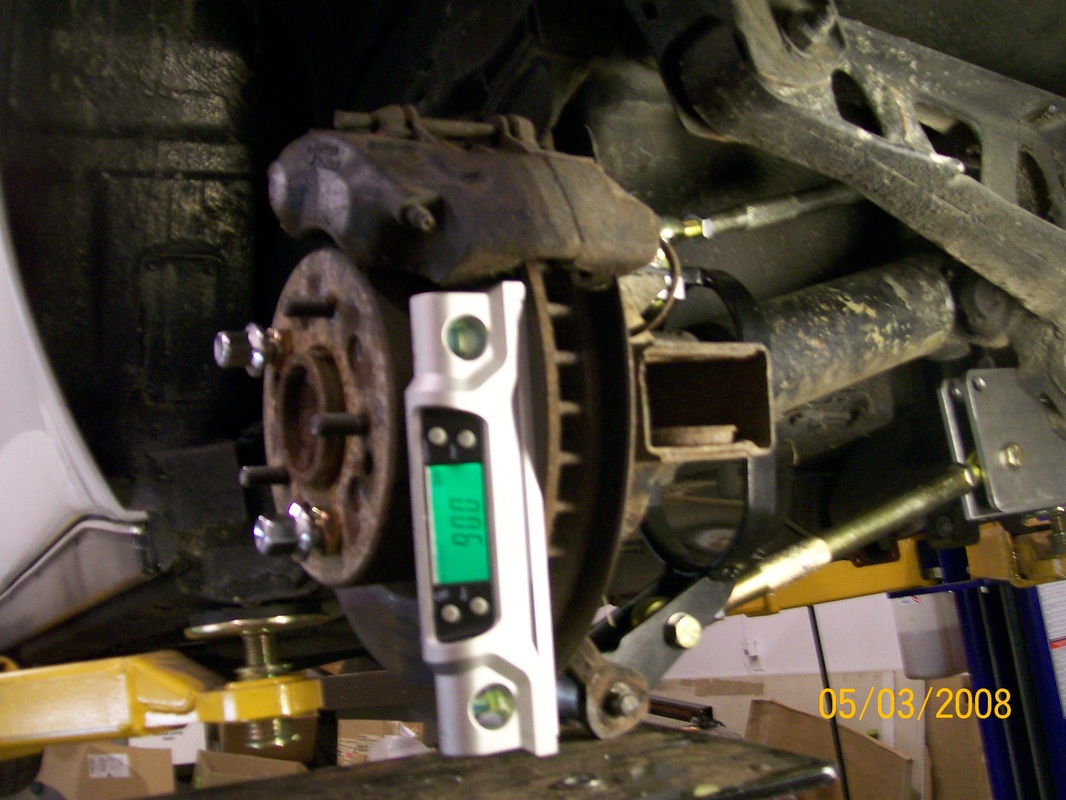
Chamber alignment is best accomplished by adjusting the half shaft level to the ground by jacking up the trailing arm.
Next snug the nut on the lower strut bar as close to the center of the slot by eye ball. This should be fairly close to the spot your alignment end up. There is no need to fight for this position if it doesn't want to align in the center it is ok.
Now lower the trailing arm to it's lowest position this will give you room to install the upper strut arm. Install a washer under the studded hiem joint. Next adjust the length of the upper strut bar so the studded end will screw into the bumper pad with out cross threading. Install another flat washer and a 1/2-20 nyloc nut. Next move the half shaft to level and check the rotor surface for the proper camber of 90 degrees. To adjust the camber to 90 degrees loosen the inside hiem joint on the lower center plate and use the top strut bar to pull or push the rotor into the desired position by adjusting the length of the upper strut bar. Do not change the length of the lower strut bar, you already have it set properly. This procedure is tedious and will require some patience. you may do this several times before every thing aligns properly. Once you have have achieved your alignment tighten the inside hiem joint on the center plate very tight 60 ft. lbs. minimum.
The device is a sears digital level available for less than $75.00. Notice the bolts on the lugs to keep the rotor from rocking around while measuring the camber change. The 80-82 Corvette has a tension clip inside the housing to keep the side yoke from moving in and out unlike the 63-79’s. The 80-82's have a larger diameter with a finer spline. To check for binding, eat your Wheaties and lift the trailing arm through its range of motion if you can do this by hand there should not be any concern about binding. If there seems to be some binding adjust the top strut bar by 1/2 turn or less adjusting the bar longer will most likely remove the binding if longer doesn’t work try shorter, recheck your camber. If the camber is off then you must make a small adjustment to the lower strut bar length. It most likely needs to be a bit longer. Sorry! You must go through the adjustment procedure again. Feel free to call our help line toll free 877-422-0943 any reasonable hour of the week 7-24. If it’s important to your then it’s certainly important to me.
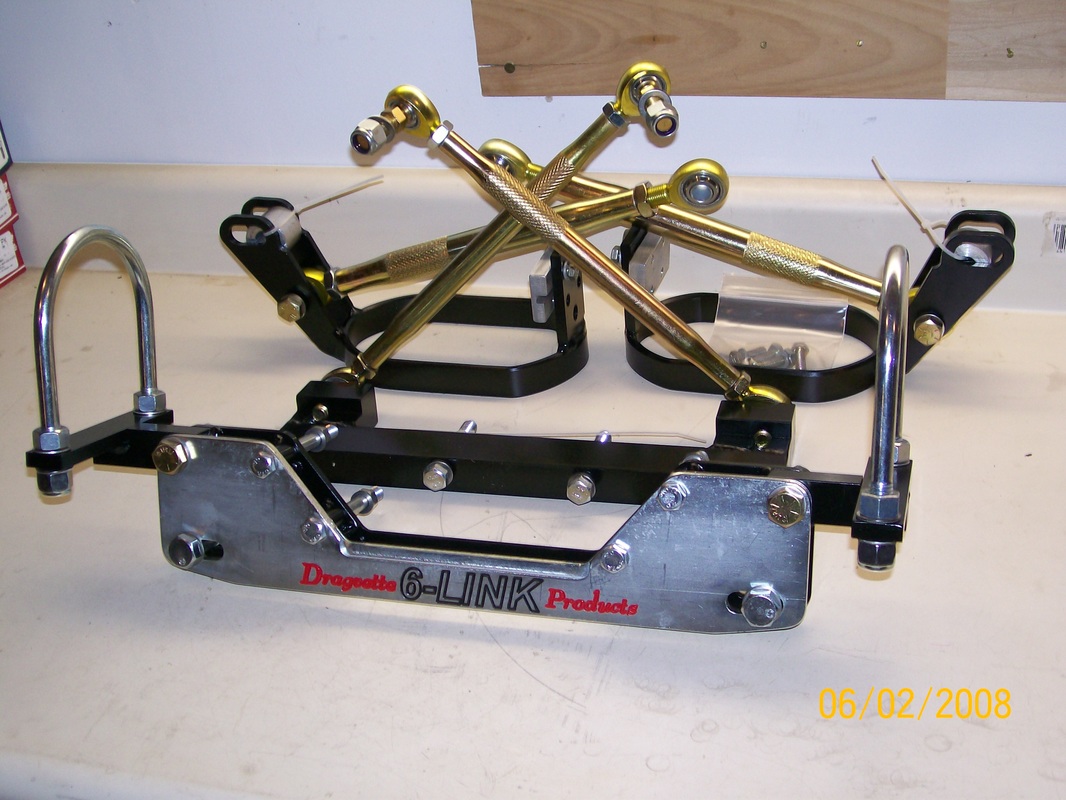
The Dragvette 6-Link system complete as delivered.
Two 9/16 x 8" long screws with nyloc nuts are not shown in this picture.
Help line 24/7 toll free 877-422-0943
Two 9/16 x 8" long screws with nyloc nuts are not shown in this picture.
Help line 24/7 toll free 877-422-0943
